 网络分析仪原理及应用


《网络分析仪原理及应用》由会员分享,可在线阅读,更多相关《网络分析仪原理及应用(10页珍藏版)》请在装配图网上搜索。
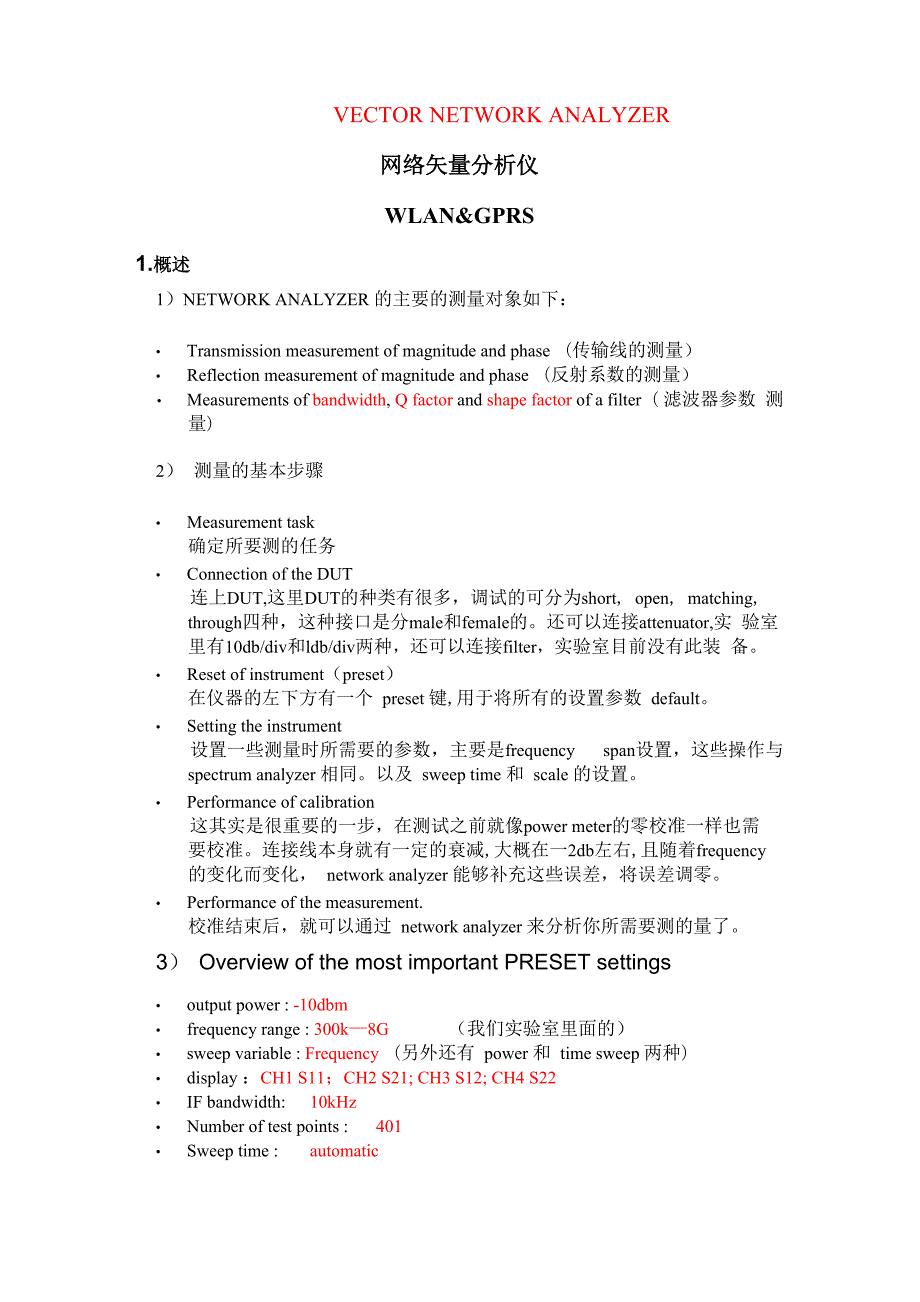
1、VECTOR NETWORK ANALYZER网络矢量分析仪WLAN&GPRS1.概述1)NETWORK ANALYZER 的主要的测量对象如下: Transmission measurement of magnitude and phase (传输线的测量) Reflection measurement of magnitude and phase (反射系数的测量) Measurements of bandwidth, Q factor and shape factor of a filter( 滤波器参数 测量)2)测量的基本步骤 Measurement task确定所要测的任务 Con
2、nection of the DUT连上DUT,这里DUT的种类有很多,调试的可分为short, open, matching, through四种,这种接口是分male和female的。还可以连接attenuator,实 验室里有10db/div和ldb/div两种,还可以连接filter,实验室目前没有此装 备。 Reset of instrument(preset)在仪器的左下方有一个 preset 键,用于将所有的设置参数 default。 Setting the instrument设置一些测量时所需要的参数,主要是frequency span设置,这些操作与 spectrum an
3、alyzer 相同。以及 sweep time 和 scale 的设置。 Performance of calibration这其实是很重要的一步,在测试之前就像power meter的零校准一样也需 要校准。连接线本身就有一定的衰减,大概在一2db左右,且随着frequency 的变化而变化, network analyzer 能够补充这些误差,将误差调零。 Performance of the measurement.校准结束后,就可以通过 network analyzer 来分析你所需要测的量了。3)Overview of the most important PRESET settin
4、gs output power : -10dbm frequency range : 300k8G(我们实验室里面的) sweep variable : Frequency (另外还有 power 和 time sweep 两种) display :CH1 S11;CH2 S21; CH3 S12; CH4 S22 IF bandwidth:10kHz Number of test points :401 Sweep time :automatic2. 理论基础第一步你必须知道incident ,reflect ,transmitted, 和 insertion loss , return l
5、oss之间的关系。incidentReturn loss =VSWR =1-PReflection厂 _ 丫加讪Coefficient1 = 乂Full reflection 从上述图中可以看出,负载在open和short状态下,回路中电磁波都是全 反射的,此时return loss为Odb。 这是一个需要 matching 的前级与后级,前级的输出阻抗和后级的输入阻抗都必须等于传输线的特性阻抗50Q,这样才会达到匹配状态。面这个图很直观的描述了 S-parameter 之间的关系,以及传输的形式。Incidenta 1 :S 21TransmittedS11Reflected b Trans
6、mitted口 DUTPort 2b2Port 1S12ReflectedIncidentb 1 = S 11 a 1 + S 12 a 2b 2 = S 21 a 1+ S 22 a 2511 = forward reflection coefficient(input match)S22 = reverse reflection coefficient(output match)S21 = forward transmission coefficient(gain or loss)512 = reverse transmission coefficient(isolation)S 22=R
7、eflectedb2Incident=a 2a 1 = 0S 12Transmittedb1Incident=a 2a 1 = 03功能键介绍1 TY/dKK ANilLirZlH FD Mill 4rF Grii dVKKWL帜耀 liFWli HWWillHHTTFimU | I ni“ IQfcE rirwtf niH I JflU.one wm iffFl =1 IJff13fc:flEI.R BACK输出参数S11输出参数S21输出参数S12 输出参数S22complex magnitude group delay standing wave ration如下:面板的功能键简介:CH
8、ANNEL模块下有四个键:CHI:CH2:CH3:CH4:也可以在一个CHANNEL下显示所有的S-parameter, CH1MEASTS11 , S21 , S12 , S222) RESPONSE模块介绍:a) MEAS有以下功能键:各种所需要测量的数据都在此功能键下能够实现。S11S21S12S22 USER DEFD S-PARAMS WAVE QUANTITYRATIO |COMPLEX CONVERS顺序是由上往下。其中:WAVE QUANTITY : direct measurement of wave quantities.RATIO :calculation of any
9、desired rations of wave quantitiesCOMPLEX CONVERS : conversion of a single S parameter into another complex quantities 。USER DEFD S-PARAMS : be used to re-define S-parameters.b) FORMAT有以下功能键:用什么方式来显示你所需要的数据。COMPLEX : be displayed directly in a circular diagram。MAGNITUDE (幅度图)PHASE (相位图)REAL (实部)IMAG
10、INARY (虚部) SWR (驻波比)GROUP DELAY (群体时延)STEP APERTURE This soft key activates the entry of the aperture width for group delay measurement as a number of test points. There are 10 test points when defaulting.FREQUENCY APERTRUE :也是为group delay服务的,不过它的测试点数是 STEP APERTURE 的两倍。c) SCALE有以下功能键:作用就是调节波形到最适宜的状
11、态。AUTOSCALE :自动调节功能,自动调整波形SCALE/DIV设置每格参数值REFERENCE VALUE 参考值REFERENCE POSITION 参考位置MAX VALUE MIN VALUEADD CONSTANT 加一定的offset使波形上下移动ZOOM 设置 X,Y 的 center ,size ,和 radiusd) DIAGRAM有以下功能键:The DIAGRAM key opens a menu where the diagram for the display of measured values can be selected.主要的就是几组不同的显示方式之间
12、的转换。具体的在使用的时候可以转换。LIN POLAR non-logarithmic 的极坐标显示LOG POLAR 极坐标图的对数显示DB POLAR极坐标图的DB显示SEFMENTED POLARDEF POLAR SEFMENTSSMITH史密斯圆图显示INVERTED SMITH倒置史密斯圆图显示CHARTERe) DISPLAY下的功能键:SINGLE CHANNEL :单一 CHANNEL 显示模式DUAL CHAN OVERLAY: 显示两个相邻的 channel 在一个 diagramDUAL CHAN SPLIT :显示两个相邻的channel在两个diagramQUAD
13、CHAN OVERLAY : 分为两个 diagram ,上面的一层显示 channel 1&channel4,下面显示 channel2&channel3QUAD CHAN DUAL SPLIT : 显示所有的四个channel在四个diagram中f) TRACE下的功能键:This key opens a menu for storing and mathematically manipulating measured traces. DATA TO MEMORY : This key copy the data of the active display channel to the
14、memory selected in the menu on the rightSHOW DATA: This key display the current measured data directlySHOW MEM : This key display the contents of the memory selected in the right-hand menuas a static trace in addition to the current measured data.SHOW MATH : This key links the measured data of displ
15、ay channels mathematically with one another or with stored data and displays them in the active channel.在默认情况下 MEM1 MEM4对应于CHANNEL1CHANNEL4。3) STIMULUS模块下的键:所要测试的频率范围的设置:START : 开始频率STOP :截至频率CENTER :中心频率SPAN :频率范围4) SWEEP下的功能键SWEEP :设置扫描时间RESTAR :重新开始扫描AVG :可以设置IF BAND,扫描点数,以及AVG FACTORSOURCE:可以看到p
16、ortl和port2的输入输出功率5) MARKER下的功能键:The marker key opens a menu for switching on and off the eight markers and for selecting their format and conversionMARKER:设置需要测试的频率点,看所需频率点的衰减量,相位参数。可以看这 个波形的peak值。SEARCH : This soft-key triggers the search for absolute extreme values for the active marker. If the MA
17、X MODE soft-key is switched on, the function searches for the absolute maximum in the sweep range. If MIN MODE is active, the absolute minimum is searched for. If the bandfilter search is on , the type of the search target depends on whether the BANDPASS or BANDSTOP softkey is on in the DEFINE BDFIL
18、TER.DELTA :DELTA MARKERS are used to determine the difference of the stimulus andresponse values of markers to a so-called reference marker.=MKR :This key opens a menu where the stimulus or measured values of the lastactive marker or delta marker are assigned to specific parameters.这部分的功能键的作用需要补充4 测
19、量前的校准这部分在测试的参数设定结束后进行,这部分用到的是calibration里的功能键。1)这里先简要介绍一下校准前的步骤:PRESETMEAS 弓 S21 TRANS FWDFORMAT 9 MAGNITUDESTART 9 2.17GSTOP 9 2.27GSCALE 9 AUTOSCALEThen you can see the diagram.你可以测不同的数据通过更换MEAS里的选项。2)CAL 下的功能键:START NEW CAL:performing a system-error calibrationREPEAT PREV CAL:repeating the last-p
20、erformed system-error calibration without any entryRESUME CAL :UNCAL:POWER UNCAL :continuing an aborted system-error calibration. switching on and off the system error correction. switching on and off the system the power correctionCAR KITS:modifying or entering the calibration standard characterist
21、ics.在 START NEW CAL 下有:FULL TWO PORT : a complete calibration for two-port measurements FULL ONE PORT : a complete calibration for one-port measurements TRANS NORM :REFL NORM :TRANS AND REFL NORM : a simple normalization校准可以分为 one port校准& two port 校准,具体的分为:through, open , short, matching 四种。根据你所需要测的
22、平台的类型,可以选择不同的校准方法,一般我们选择全部校准 FULL TWO PORT下面是具体的校准流程: Port1 open:CAL 9 START NEW CAL9 REFL NORM 9 PORT1 9OPEN PORT1 9 APPLY CAL Port1 short :CAL 9 START NEW CAL9ONE PATH TWO PORT9FOWARD 9SMA MALE9SHORT PORT19 APPLY CAL Port1 matching:CAL 9 START NEW CAL9ONE PATH TWO PORT9FOWARD 9SMA MALE9MATCH PORT1
23、 9 APPLY CAL Port1 through port2 reverse:CAL 9 START NEW CAL 9 TRANS NORM 9 BOTH DIRECTNS 9 TROUGH 9APPLY CAL Port2 openCAL 9 START NEW CAL9 REFL NORM 9 PORT2 9OPEN PORT2 9 APPLY CAL Port2 shortCAL 9 START NEW CAL9 FULL ONE PORT 9 PORT2 9 SHORT PORT2 9APPLY Port2 matchingCAL 9 START NEW CAL9 FULL ONE PORT 9 PORT2 9 MATCH PORT2 9APPLY Full calibrationCAL 9 START NEW CAL9 FULL TWO PORT 9 SMA MALE9 TOSM 9 七种校准校准可以又不同的方案,只要能够达到你所需的目的就行了。调试的功底不在于会使用仪器,而在于怎么样去搭建一个平台用仪器来实现,更重要 的是要能够根据仪器上面的图像来分析测试过程中所遇到的问题,希望对 VECTOR NETWORK ANALYZER 很有心得的人对此篇报告进行补充。
- 温馨提示:
1: 本站所有资源如无特殊说明,都需要本地电脑安装OFFICE2007和PDF阅读器。图纸软件为CAD,CAXA,PROE,UG,SolidWorks等.压缩文件请下载最新的WinRAR软件解压。
2: 本站的文档不包含任何第三方提供的附件图纸等,如果需要附件,请联系上传者。文件的所有权益归上传用户所有。
3.本站RAR压缩包中若带图纸,网页内容里面会有图纸预览,若没有图纸预览就没有图纸。
4. 未经权益所有人同意不得将文件中的内容挪作商业或盈利用途。
5. 装配图网仅提供信息存储空间,仅对用户上传内容的表现方式做保护处理,对用户上传分享的文档内容本身不做任何修改或编辑,并不能对任何下载内容负责。
6. 下载文件中如有侵权或不适当内容,请与我们联系,我们立即纠正。
7. 本站不保证下载资源的准确性、安全性和完整性, 同时也不承担用户因使用这些下载资源对自己和他人造成任何形式的伤害或损失。
